Work06Star / Moon Tracker
Star / Moon Tracker
A budget-friendly tracker that taught me how ideas get to market.
- Years
- 2022–23
- Type
- Product · designed, built and sold
- Mount
- Barn-door, two hinged plates, stepper-driven threaded rod
- Electronics
- Custom PCB · Arduino Nano · DRV8825 · DC-DC buck
- Controls
- Speed slider · CW / CCW · power · start
- Enclosure
- Designed in CAD, 3D-printed, fan-cooled
01 · Idea
The sky moves. A cheap telescope doesn’t follow it.
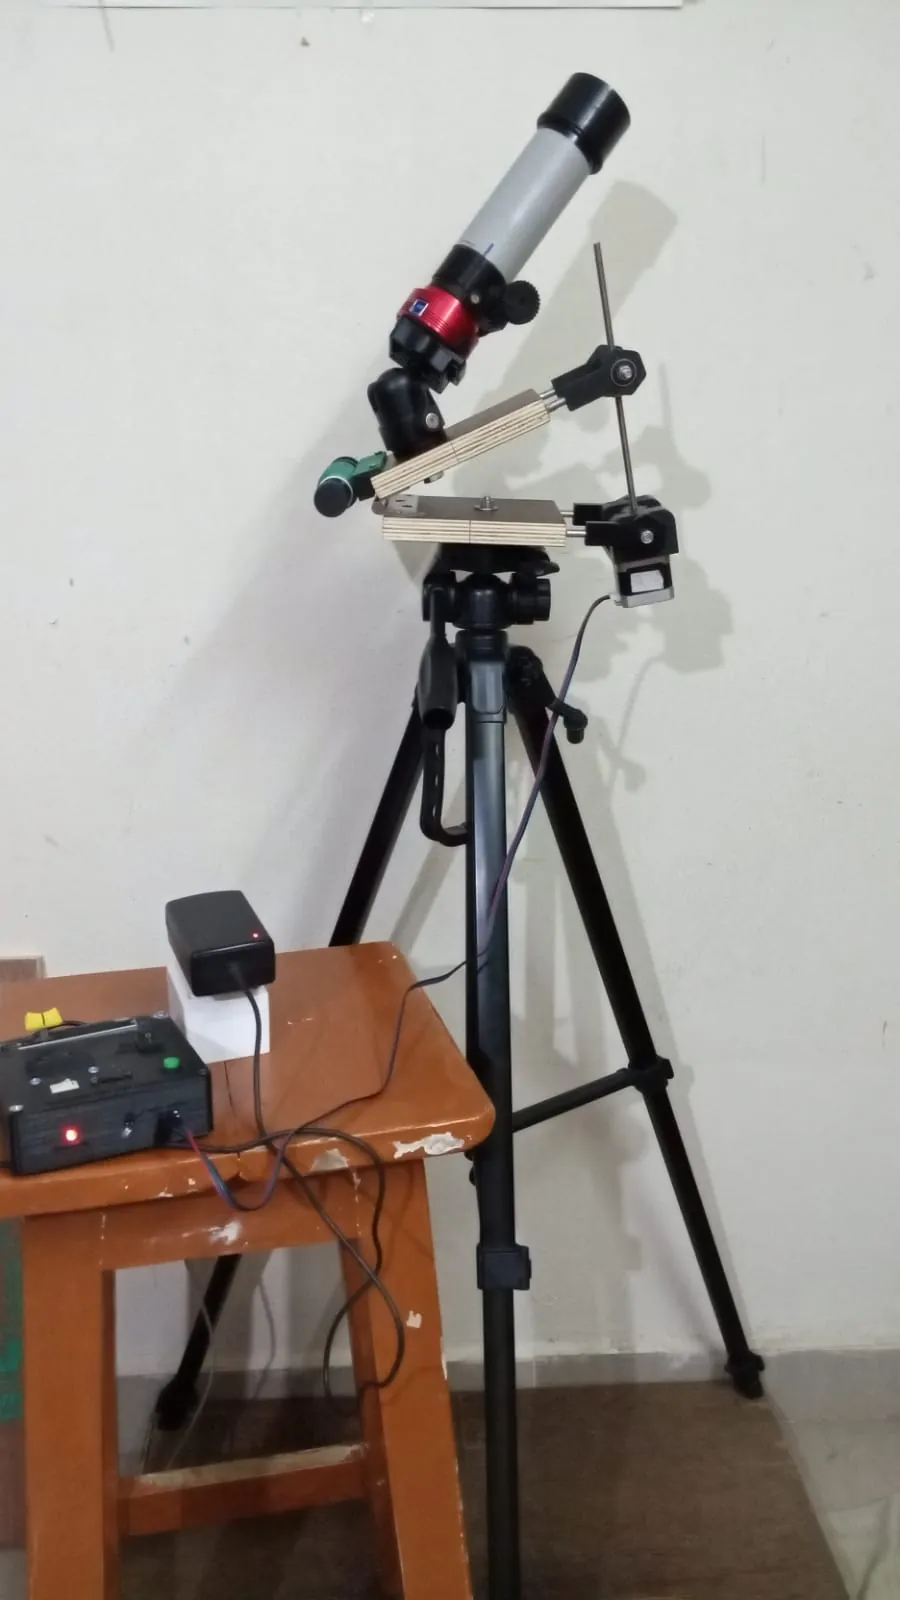
Point a small telescope at the moon and it drifts out of view in under a minute. Mounts that track the sky cost more than the telescope. The tracker is the cheap version of that: a motor that turns the mount at the speed of the sky, so the moon or a star stays put in the eyepiece, on a tripod you already own.
02 · Mount
Two plates, a hinge, a threaded rod.
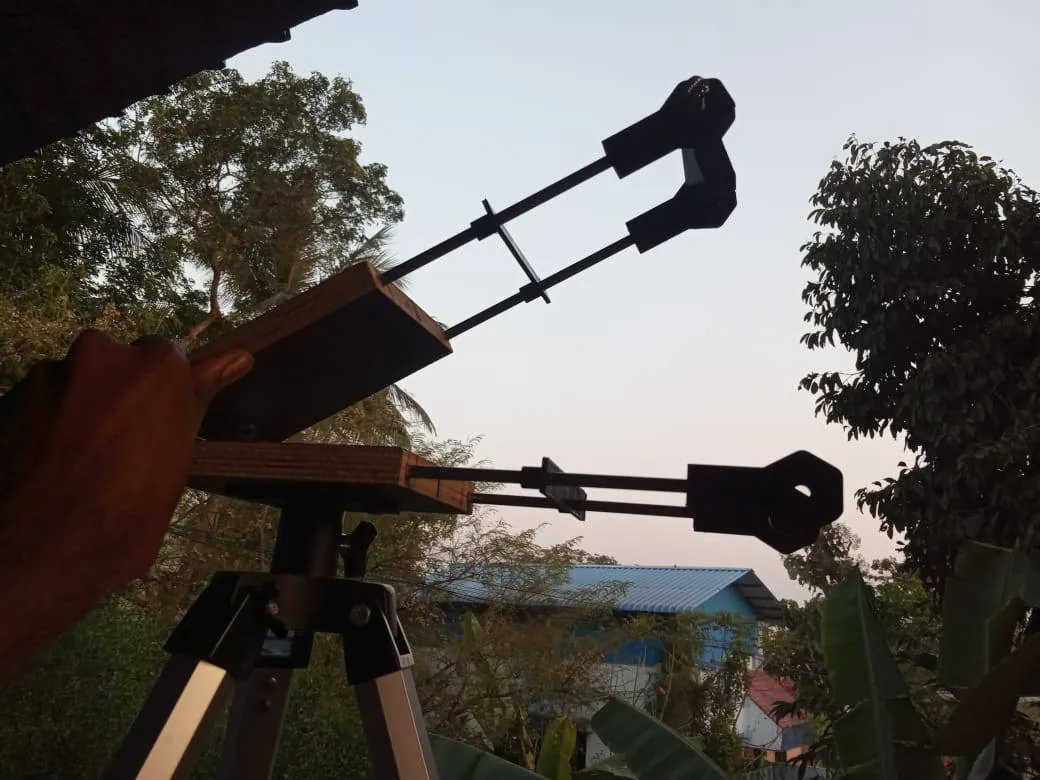
A barn-door mount. Two plywood plates hinged at one edge, a threaded rod between them, and a stepper motor turning the rod so the top plate opens at exactly the rate the sky turns. The telescope sits on the top plate on its own ball head; the bottom plate bolts to any camera tripod.
03 · Board
My first PCB that shipped.
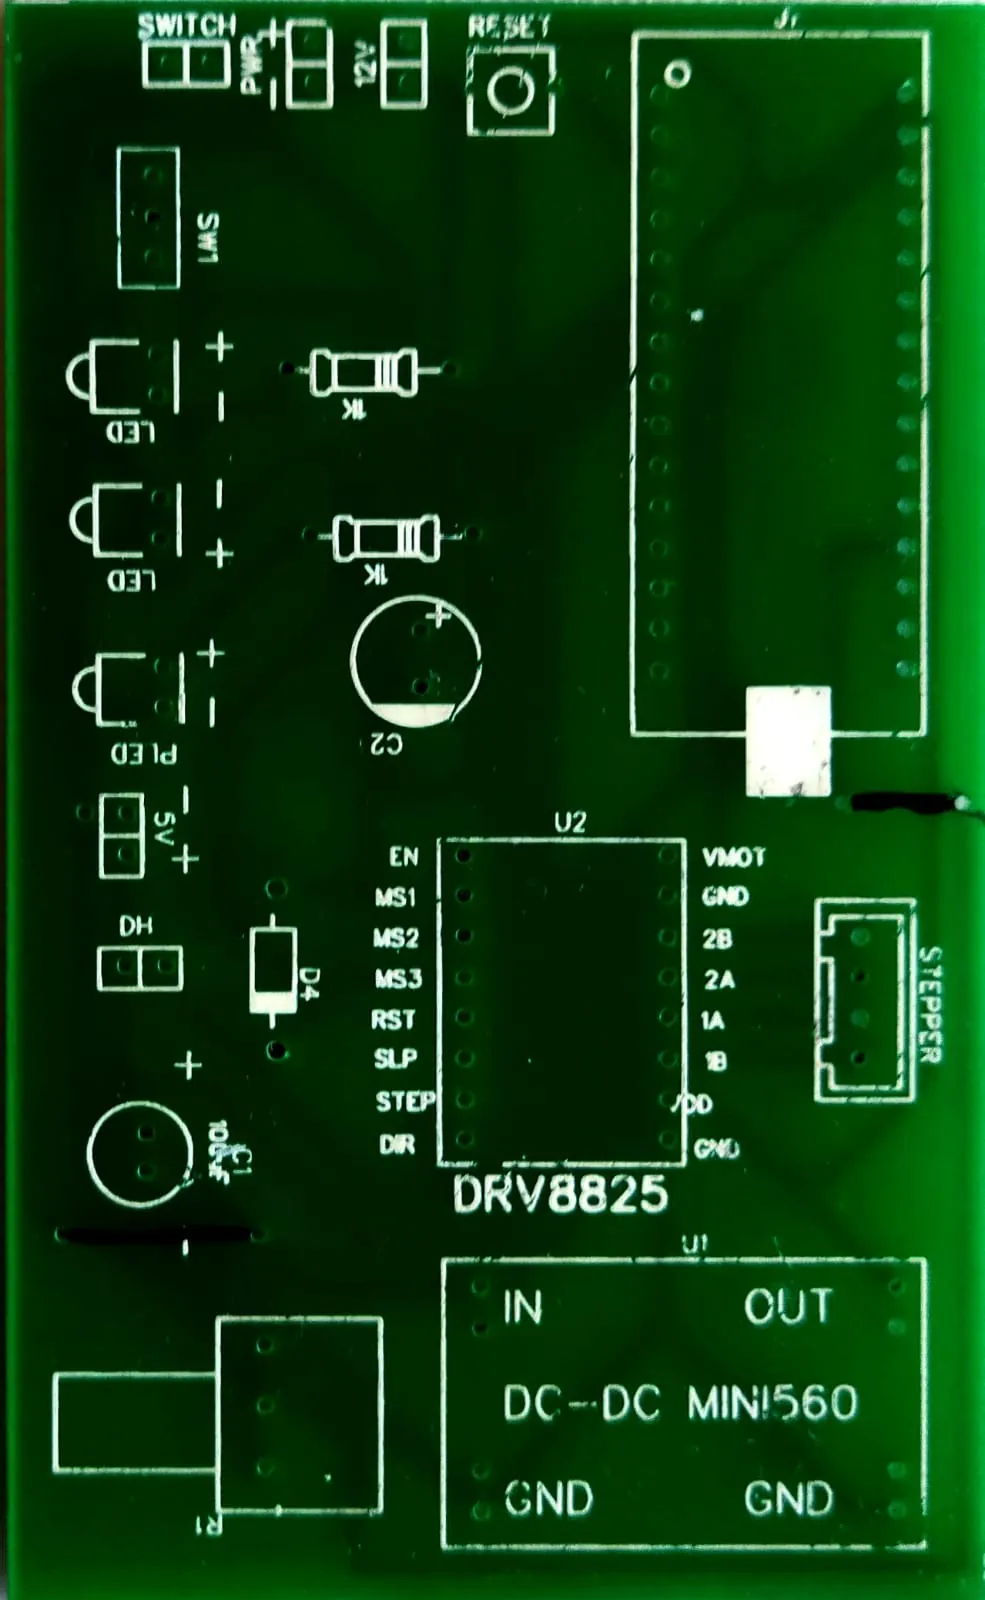
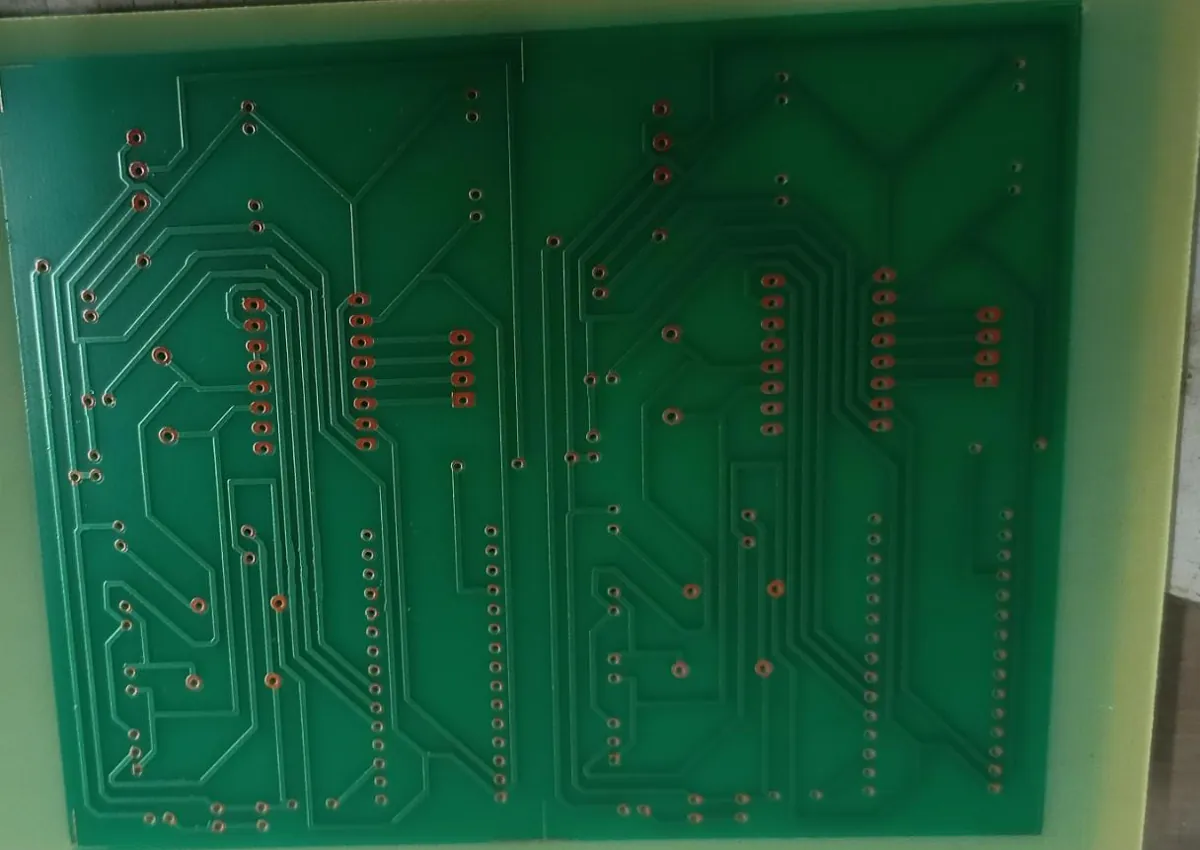
An Arduino Nano, a DRV8825 stepper driver, a DC-DC buck to run the logic off the 12 V supply, and headers for every switch and LED on the panel. Laid out so a stranger could assemble it from the silkscreen alone, which is what turned it from a project into a product.
04 · Box
A control box you can use in the dark.
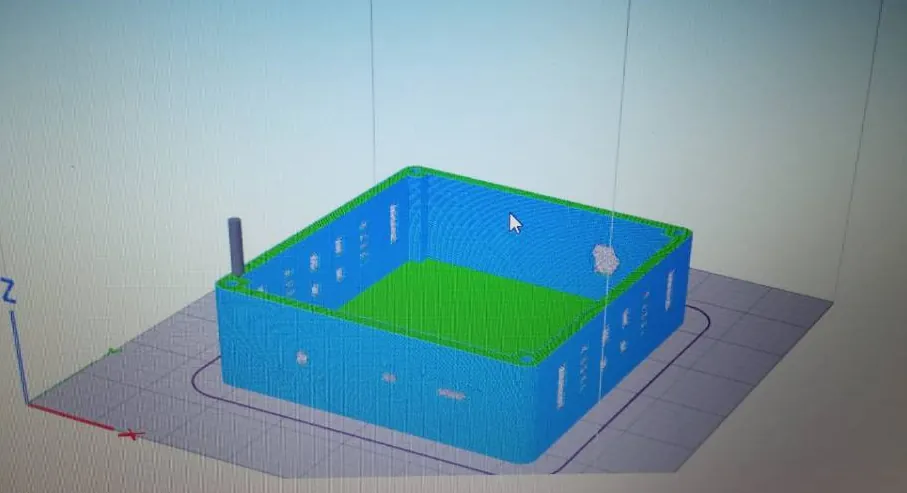
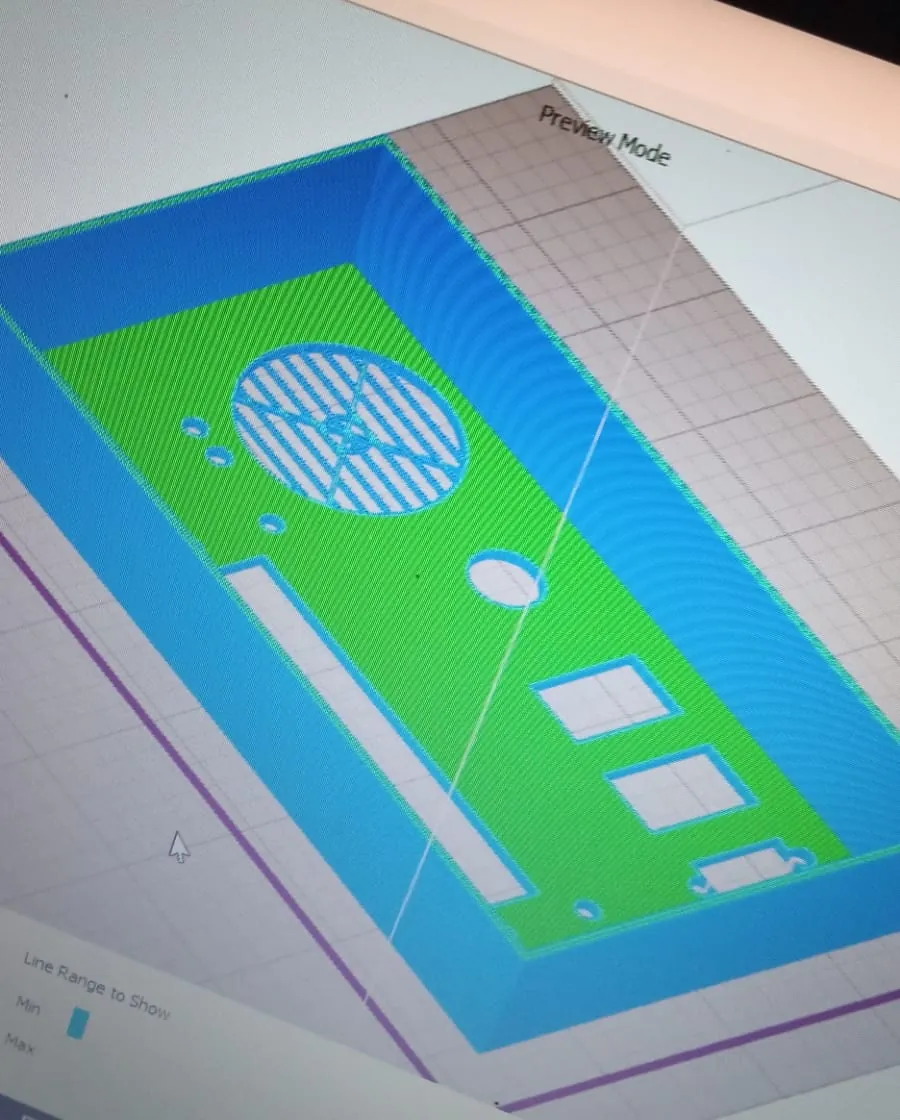
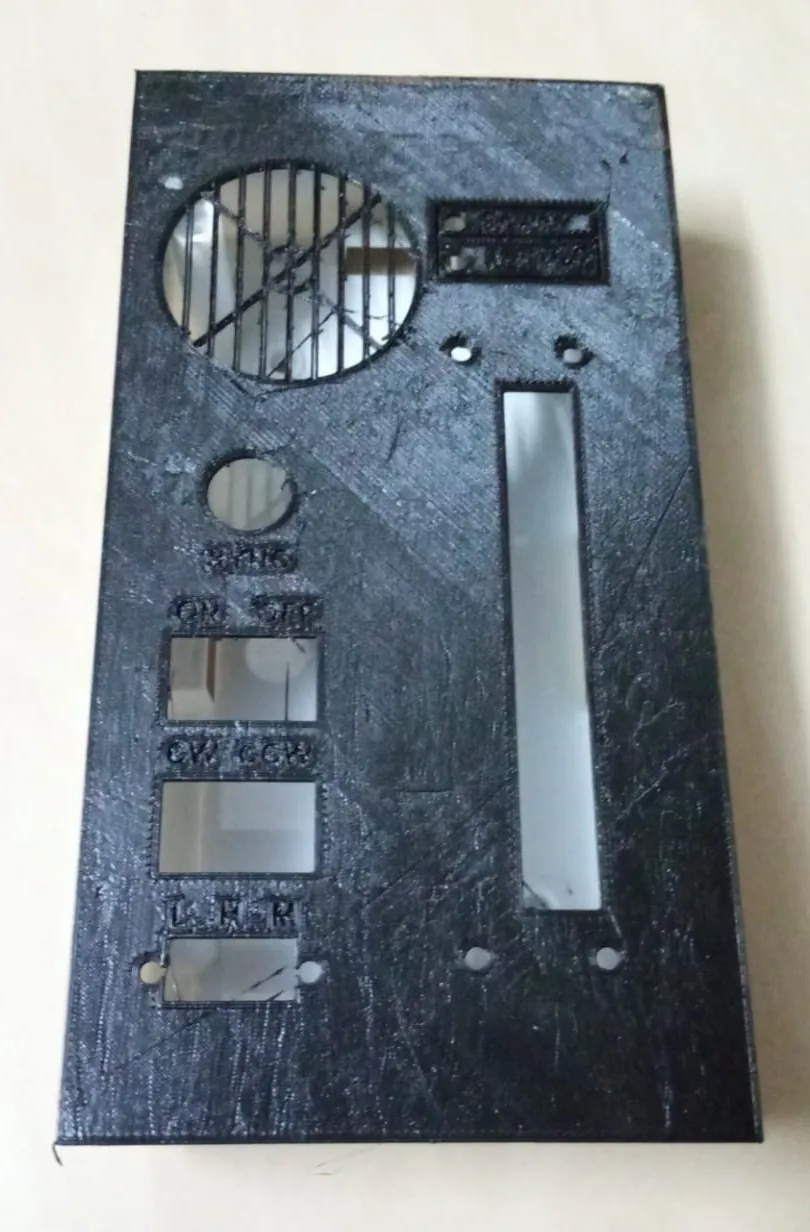
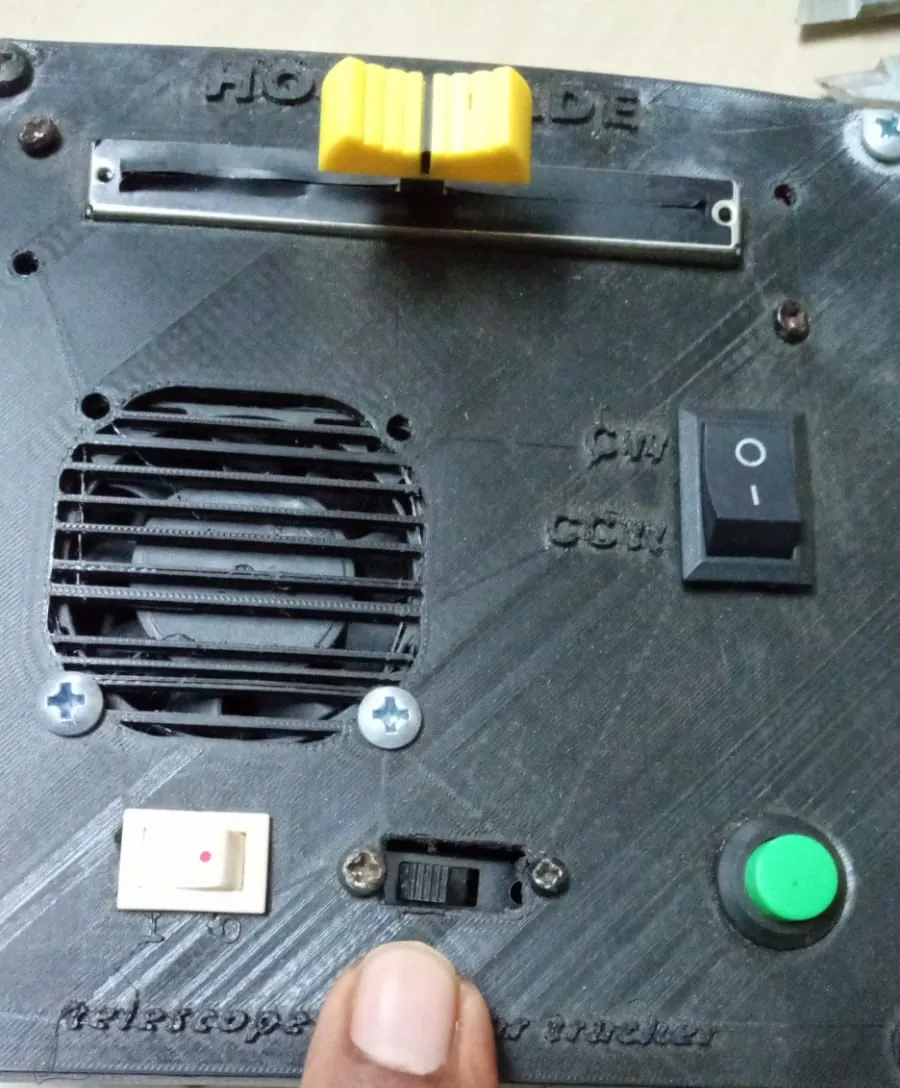
Speed on a slider, direction on a rocker, power, and a big green start button, each labelled in the plastic so you can find them by touch. A fan behind a grille keeps the driver cool. The box and lid were drawn in CAD and printed, with the cutouts sized to the exact parts.
05 · Market
It sold.
This was the first thing I made that someone else paid for. Getting there meant a board a stranger could assemble, a box that didn’t need an explanation, and a price that made sense next to the telescope it sat under. The tracking was the easy part.